Time to start planning your fall wardrobes for your photo session! These are made for you to look at different color schemes, formal or casual, so you can plan ahead! Email us to book early! mikabethedwardsphoto@me.com
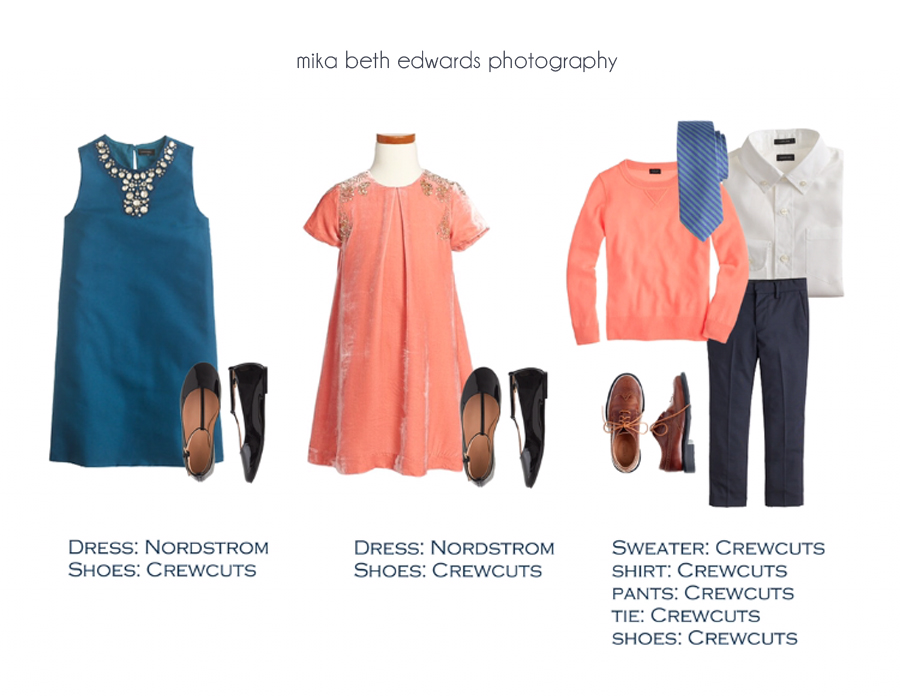
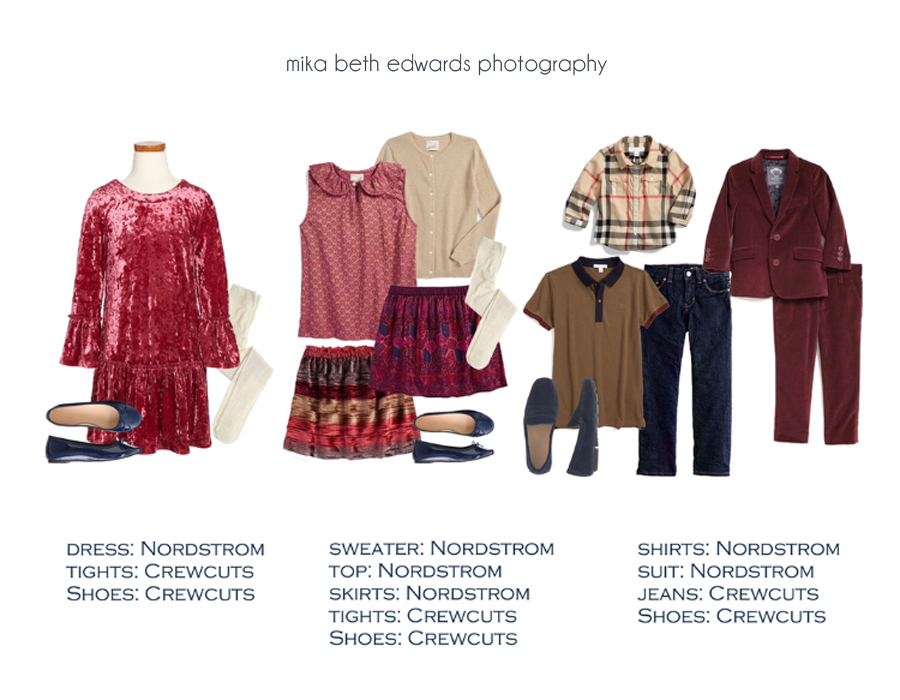

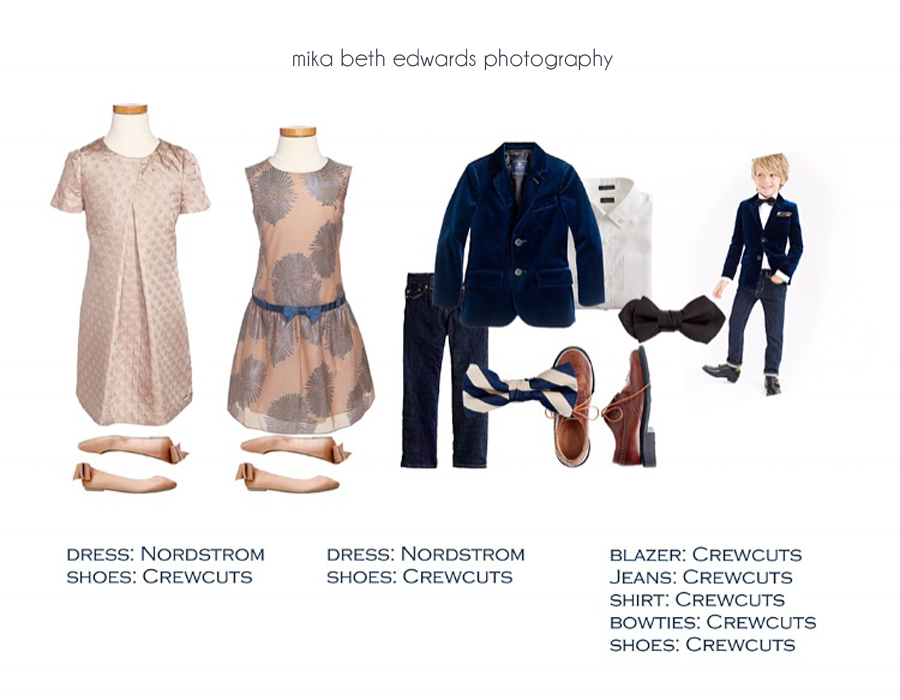
color schemes and wardrobe ideas…
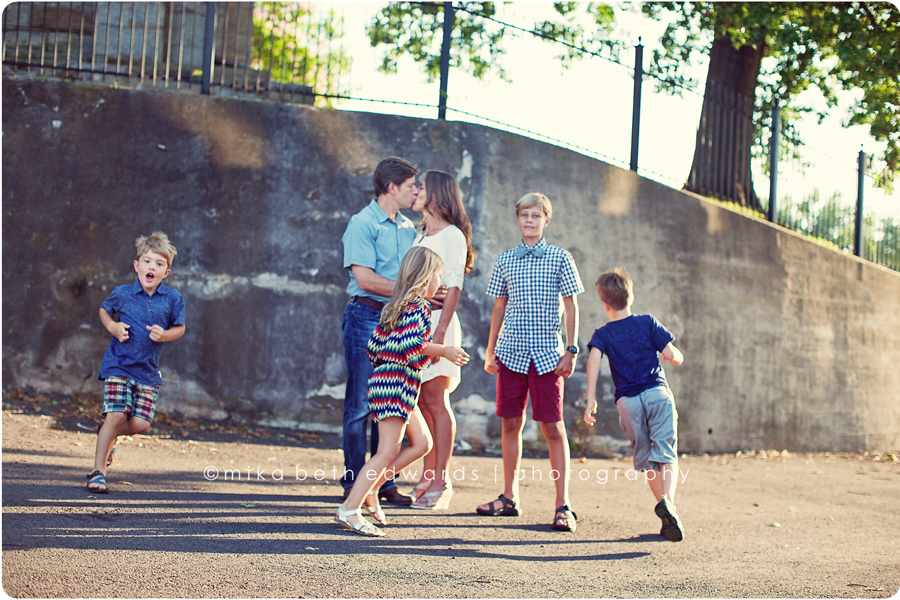
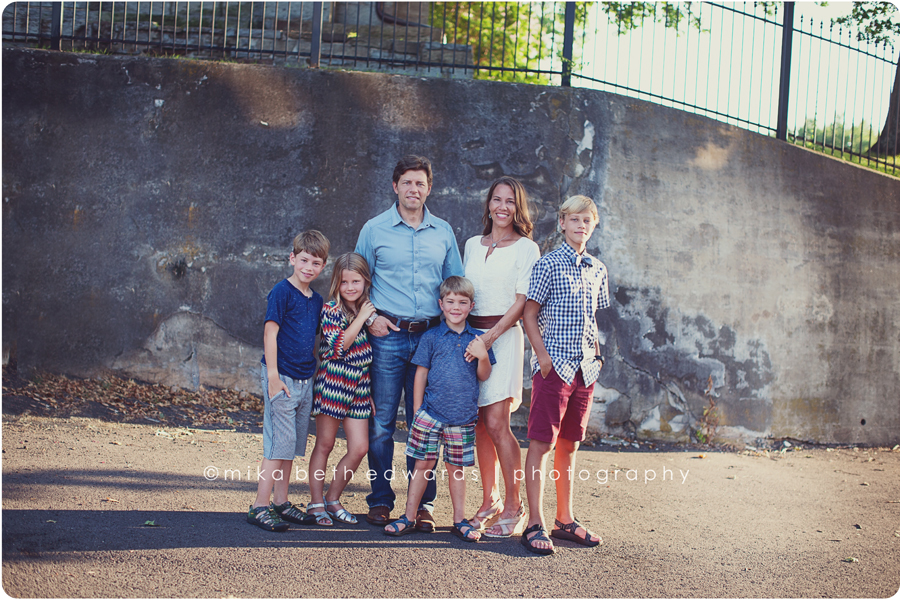
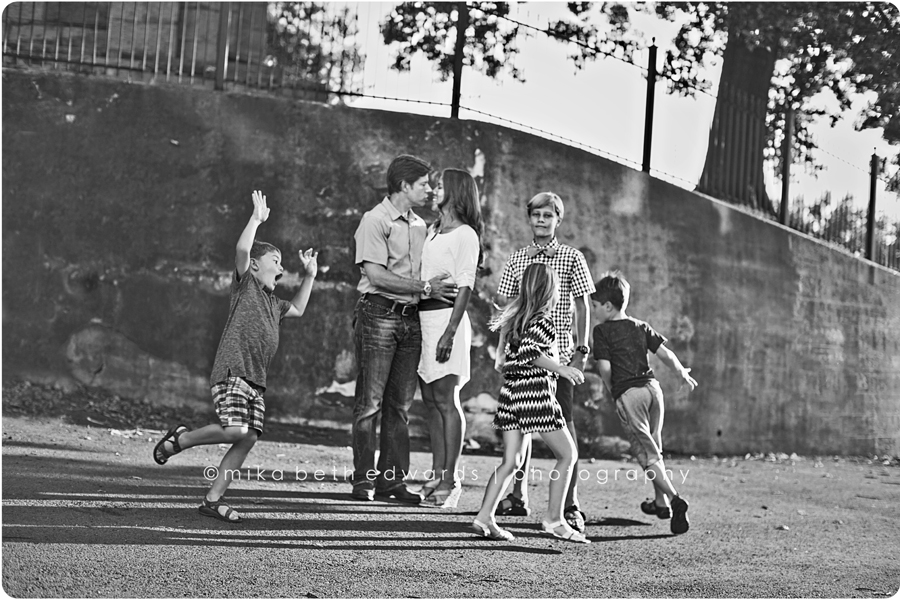
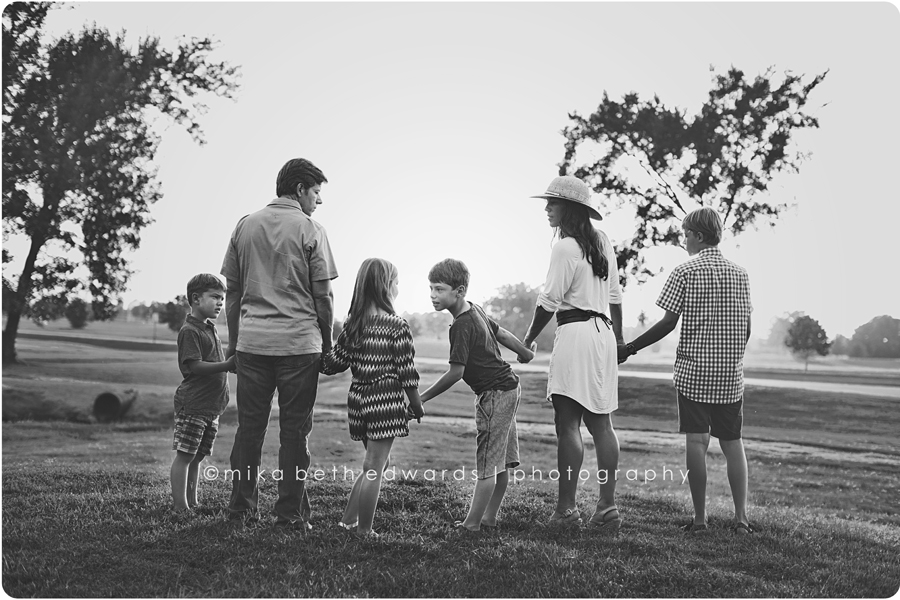
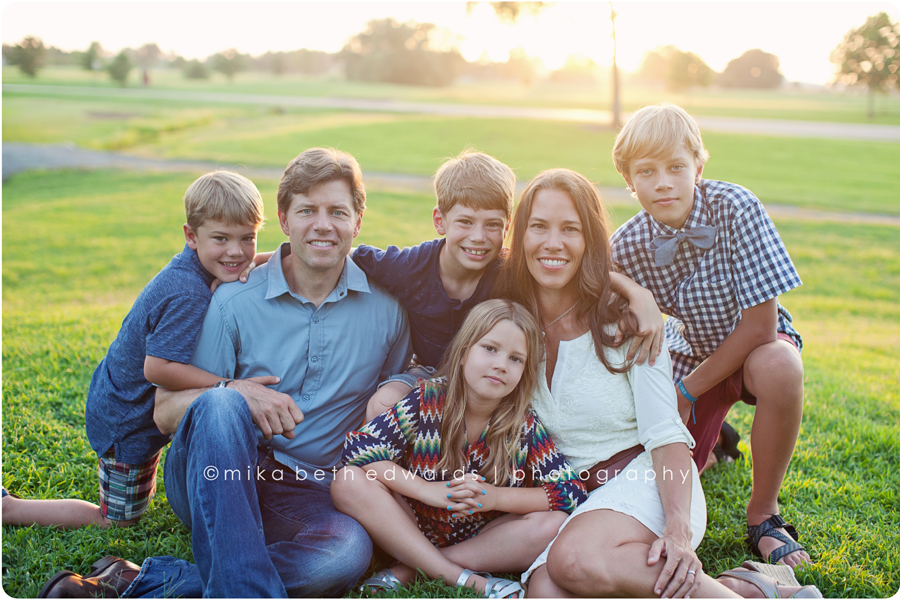
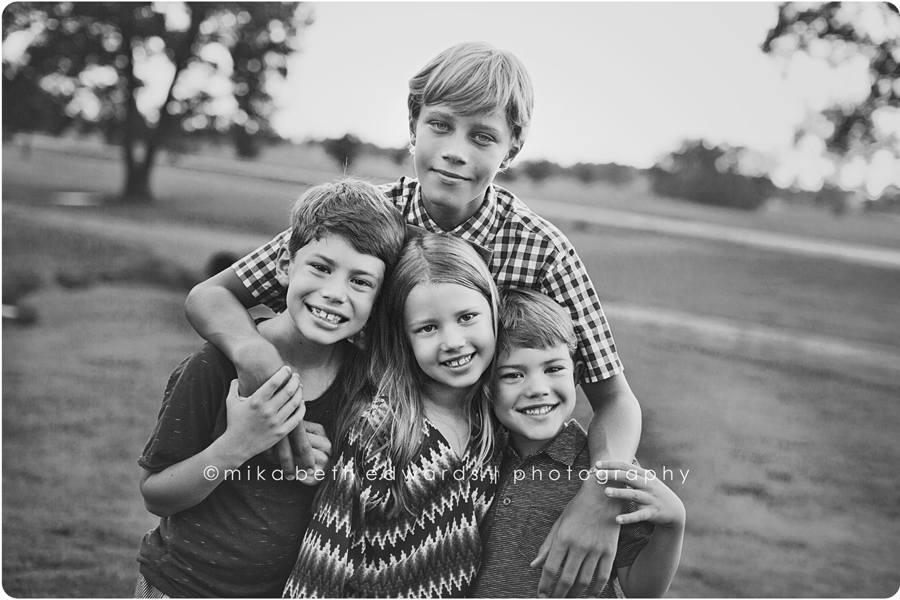
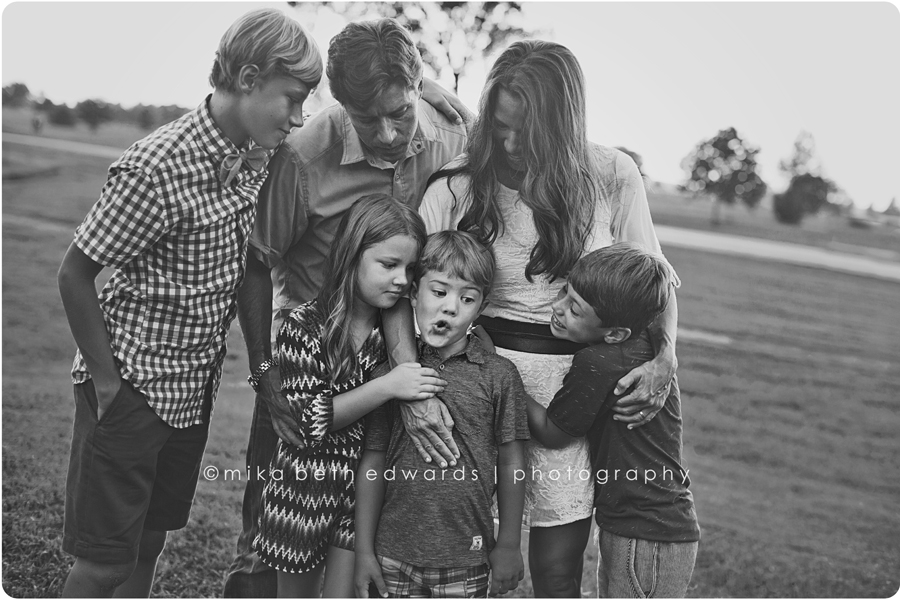
Beck, Jones, Ella Kate and Sager | Mexico


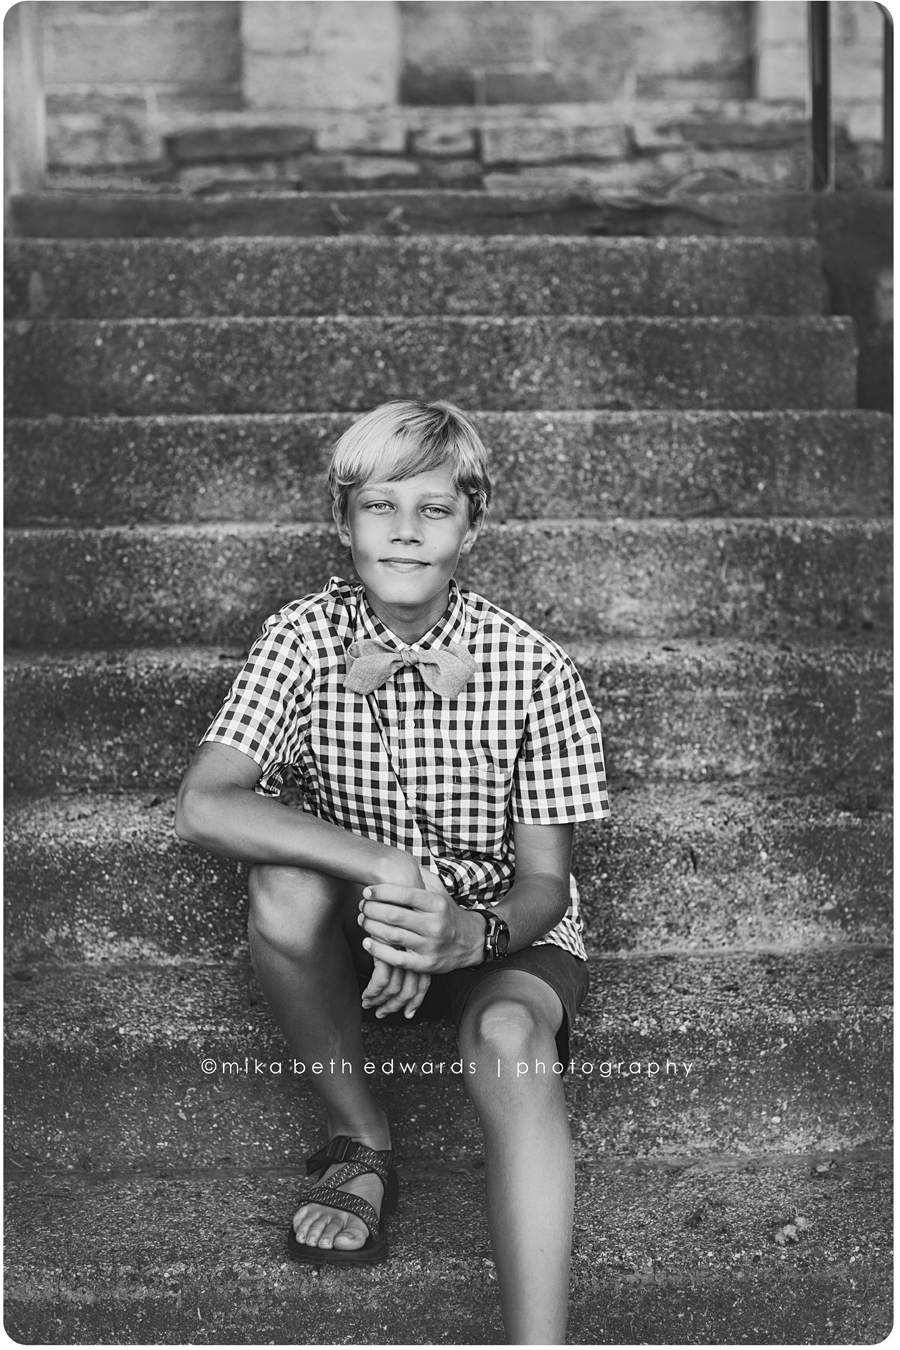
 Dad needed a headshot!
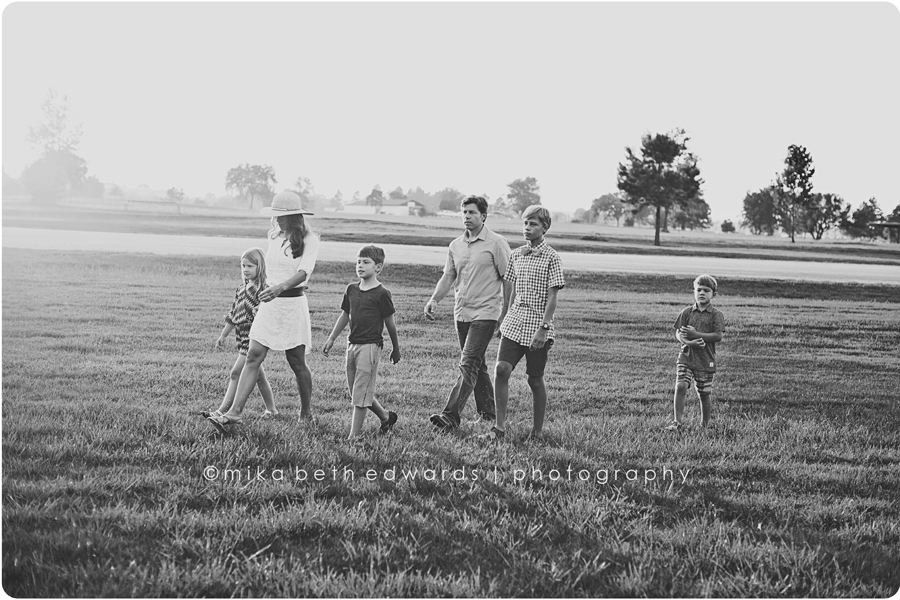


NWA fall dates officially open | northwest arkansas family photographer
I need any excuse to see my girl now 🙂 NWA fall dates officially open! Contact Matt: mikabethedwardsphoto@me.com or 479.783.8039 These dates will go quickly!
mon 9/7 -booked
mon 9/14 -booked
tues 9/15
mon 9/21 -booked
tues 9/29
sat 10/2
sat 10/16
mon 10/19
wed 10/21
mon 11/09 -booked
tues 11/10
mon 11/16 -booked
tues 11/17
now booking Fall dates…
To contact call Matt at 479-783-8039 or email him at mikabethedwardsphoto@me.com
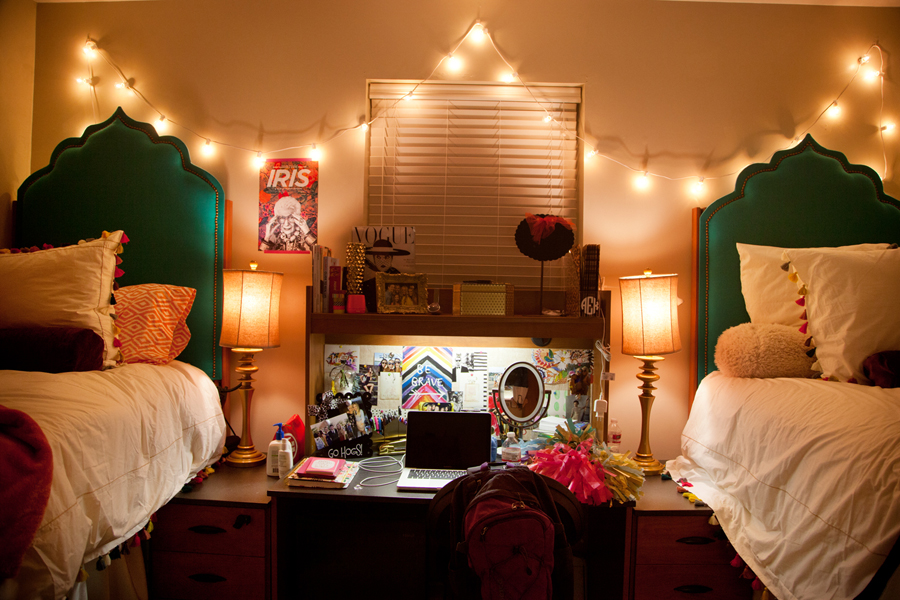
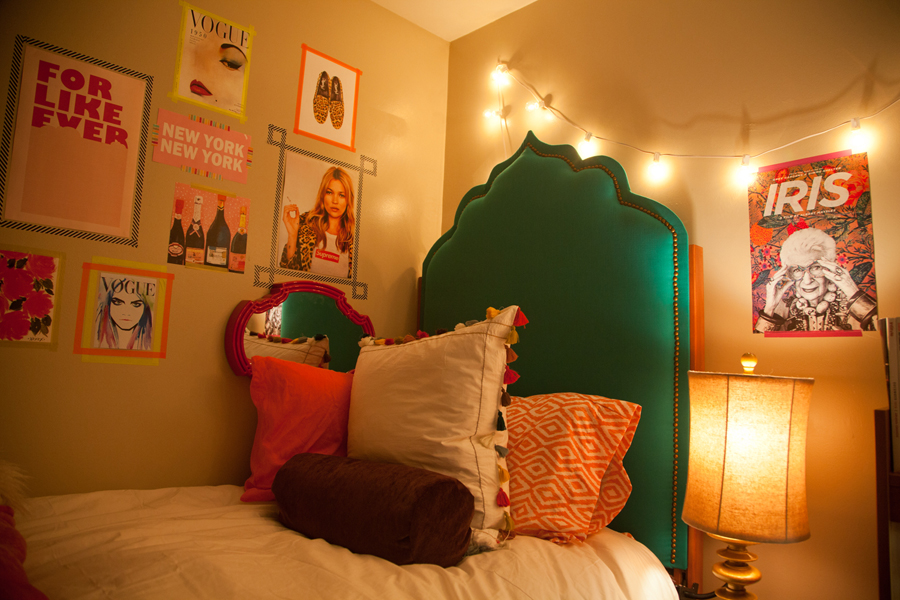
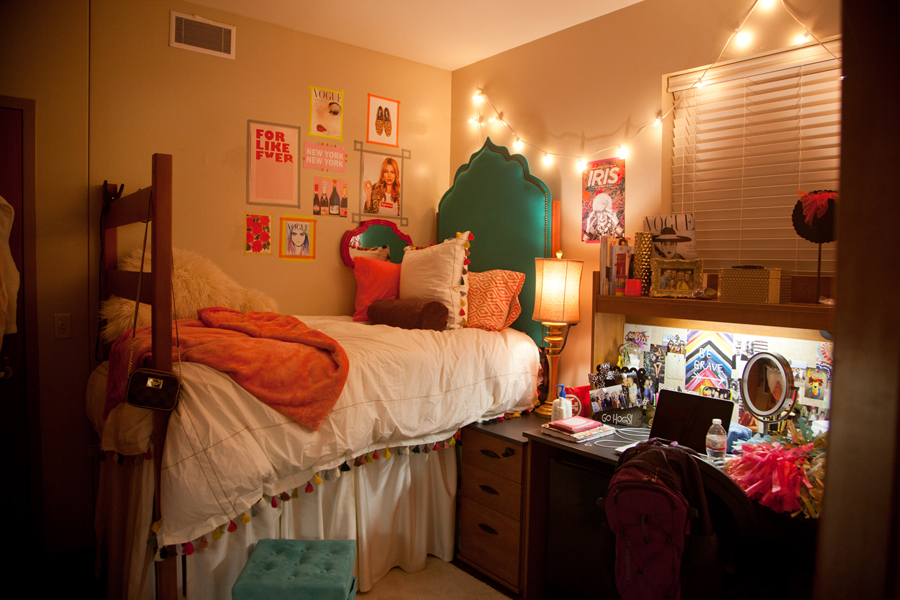
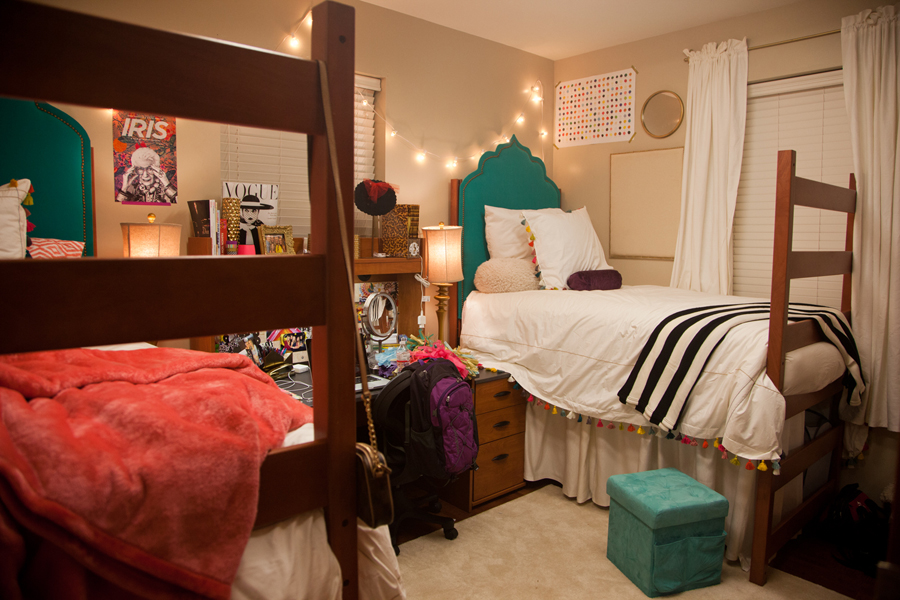
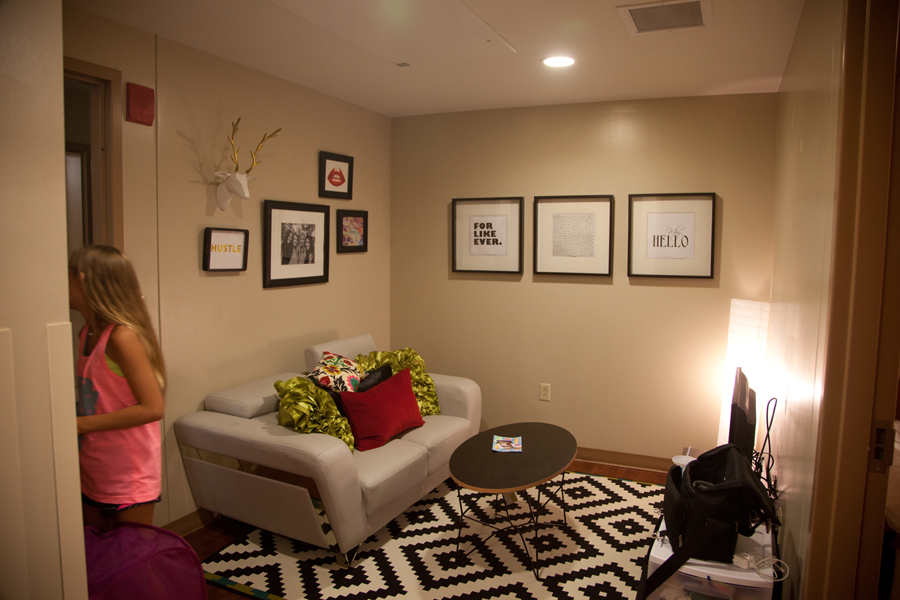
Addison’s college dorm headboard | U of A…
Last week we moved Addison to college! She had a list prepared very early last year of things she MUST have for college. Luckily she is very detail oriented so the list was long. Although there were things on the list like Tory Burch sandals and David Yurman rings 🙂 , she did a great job knowing what she needs! We first found her bedding and started decorating from there. I knew I wanted Matt to make her a headboard. I did tons of research and watch tutorials. It took forever, like a whole weekend per headboard… He made two, one for Addison and one for her roomate. Then he said NO MORE! I’ve had so many emails and comments about Addison’s headboard I thought I would show you how we made it. Let me say this first, if this was going in my home, we would have made it at least 2 inches thick and more sturdy. I knew I wanted to keep them light as possible. So here goes!
We chose a large sheet of thin but sturdy plywood. I can’t remember, it was about 3/16″. Cut in half made two 48 inch high twin headboards. I hand drew half of the pattern that I liked, then folded the paper in half and traced the other half! 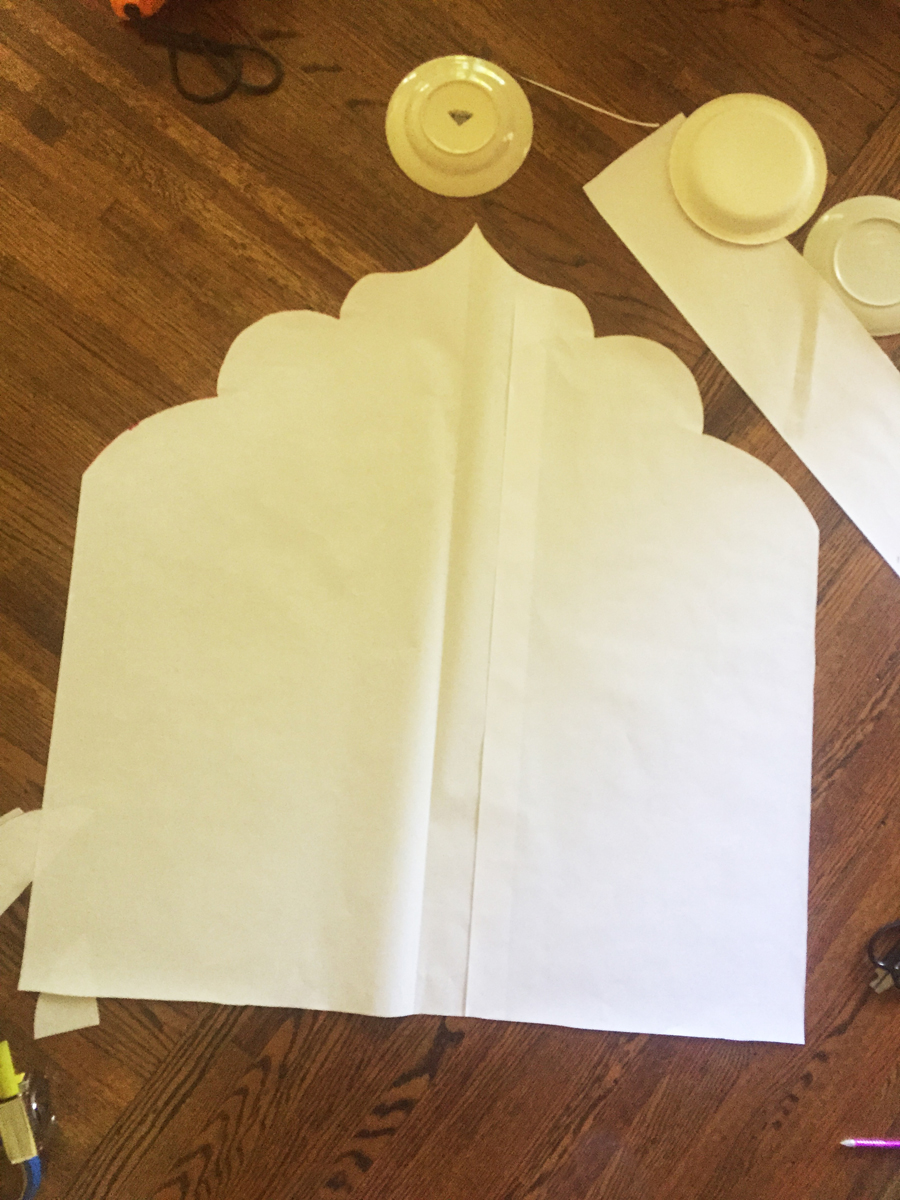 I tried to keep the cost down so I choose inexpensive fabric knowing she would only use this one year. I definitely would have use designer fabric if it was going in our home. We bought 2 inch foam and thin batting.
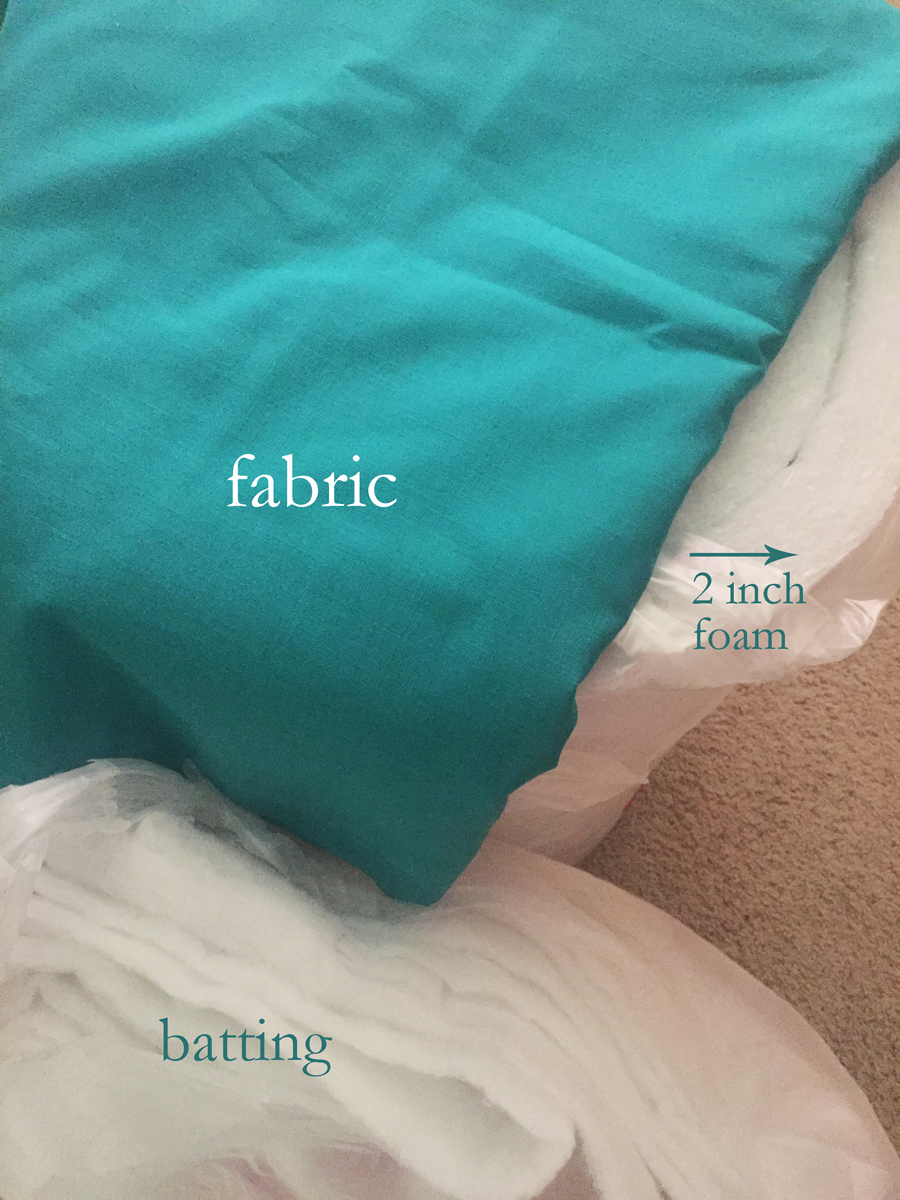 Here I’m testing out the size and pattern on a twin bed!
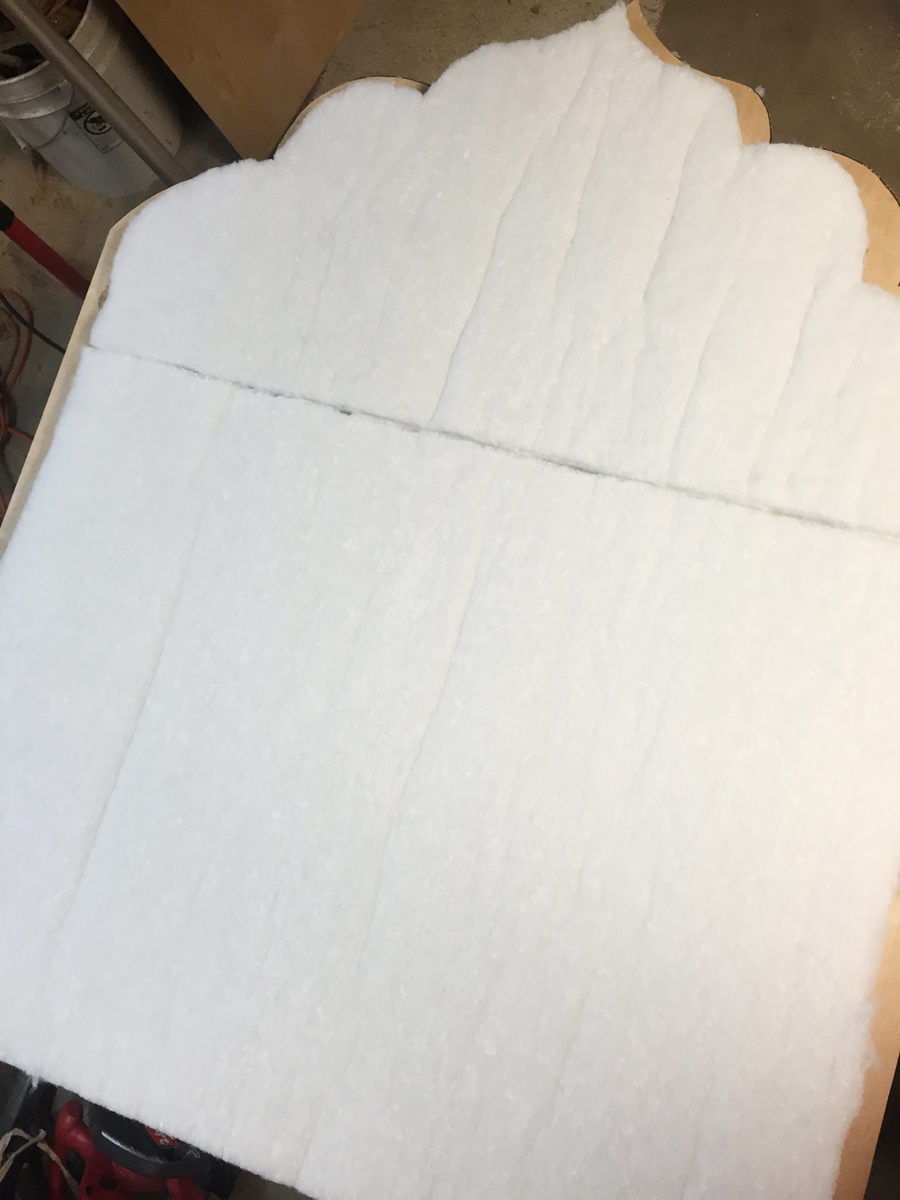
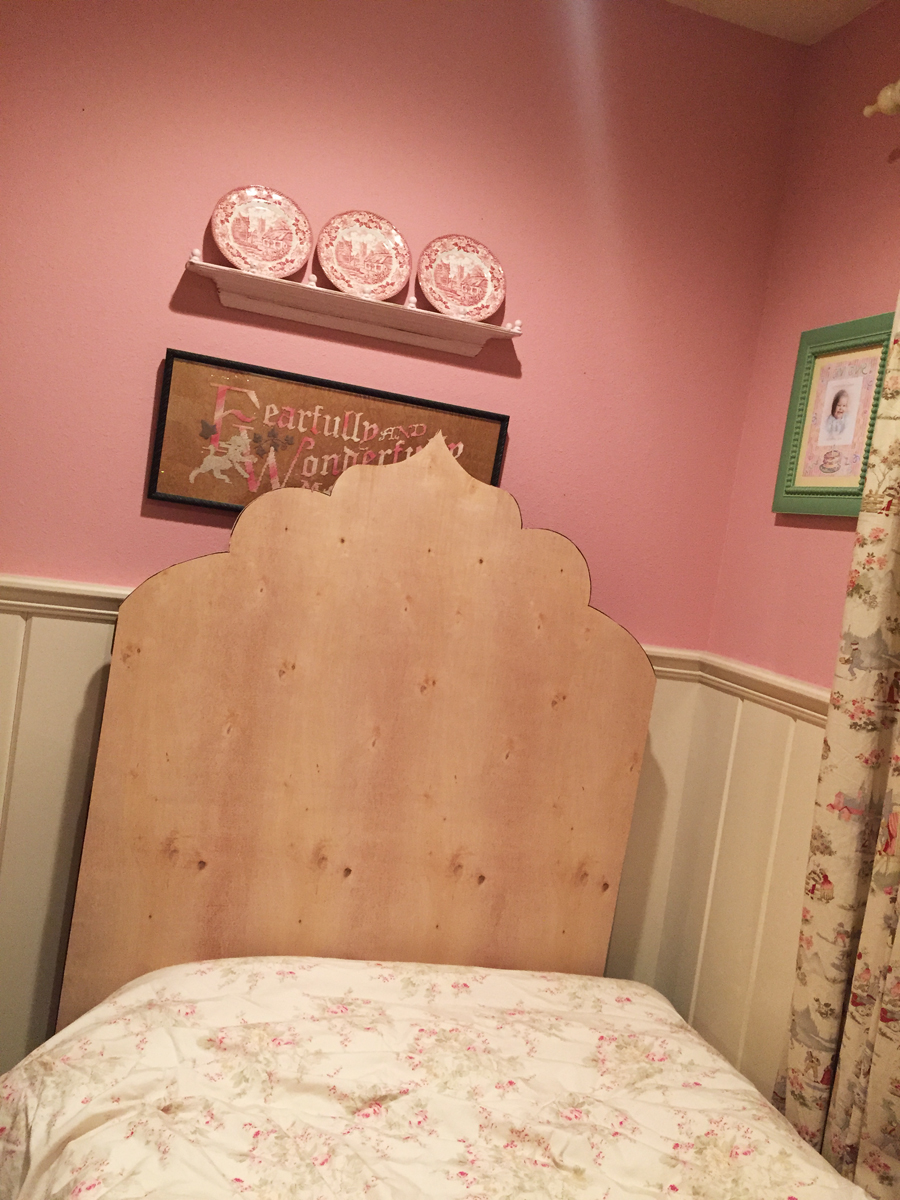 Matt cut out the 2 inch foam 1.5 inches smaller than the plywood to allow space for the nail heads. To apply the foam to the plywood he used adhesive spray bought at Hancock Fabrics. Then wrapped the batting tightly around to the back and stapled the batting to the back. I don’t have a picture of the batting stapled to the back.
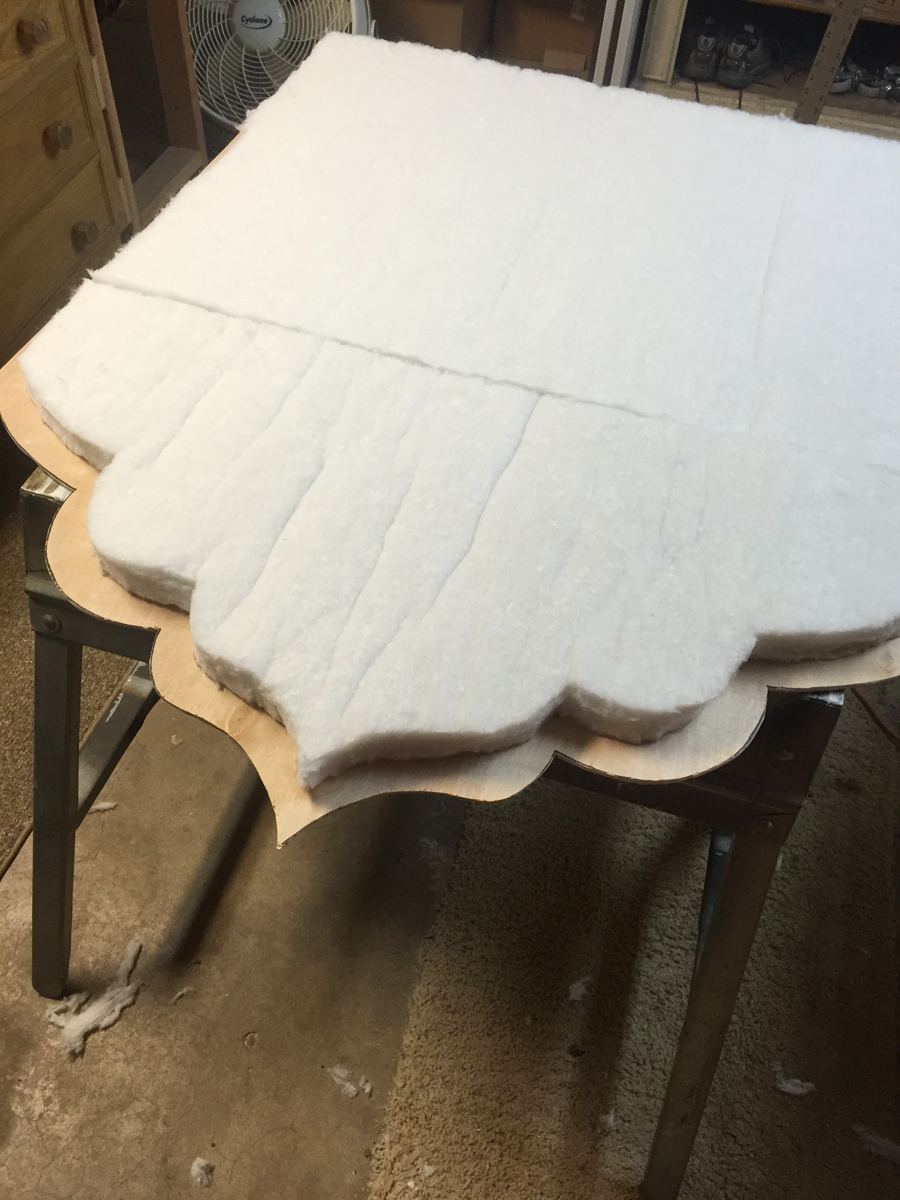
 After the batting, he stapled the fabric around to the back just like the batting. I bought 1/2 inch brass nail heads off of ebay. I found the best price there. He then just nailed the nail heads in a row along the pattern using a hammer and a rubber mallet. I’m talking like its super fast, but it took him about a whole weekend to do one headboard! That could be why after the second one he said no more 😉
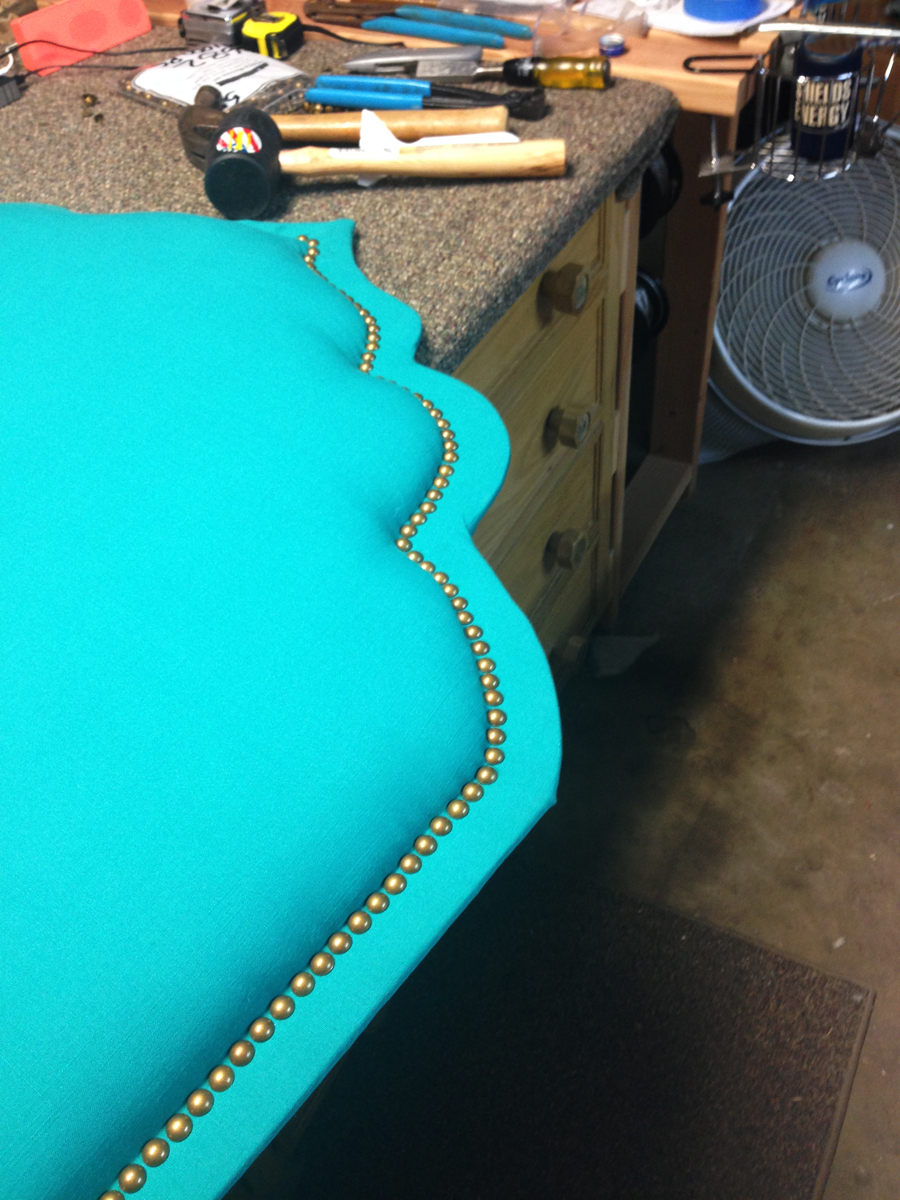
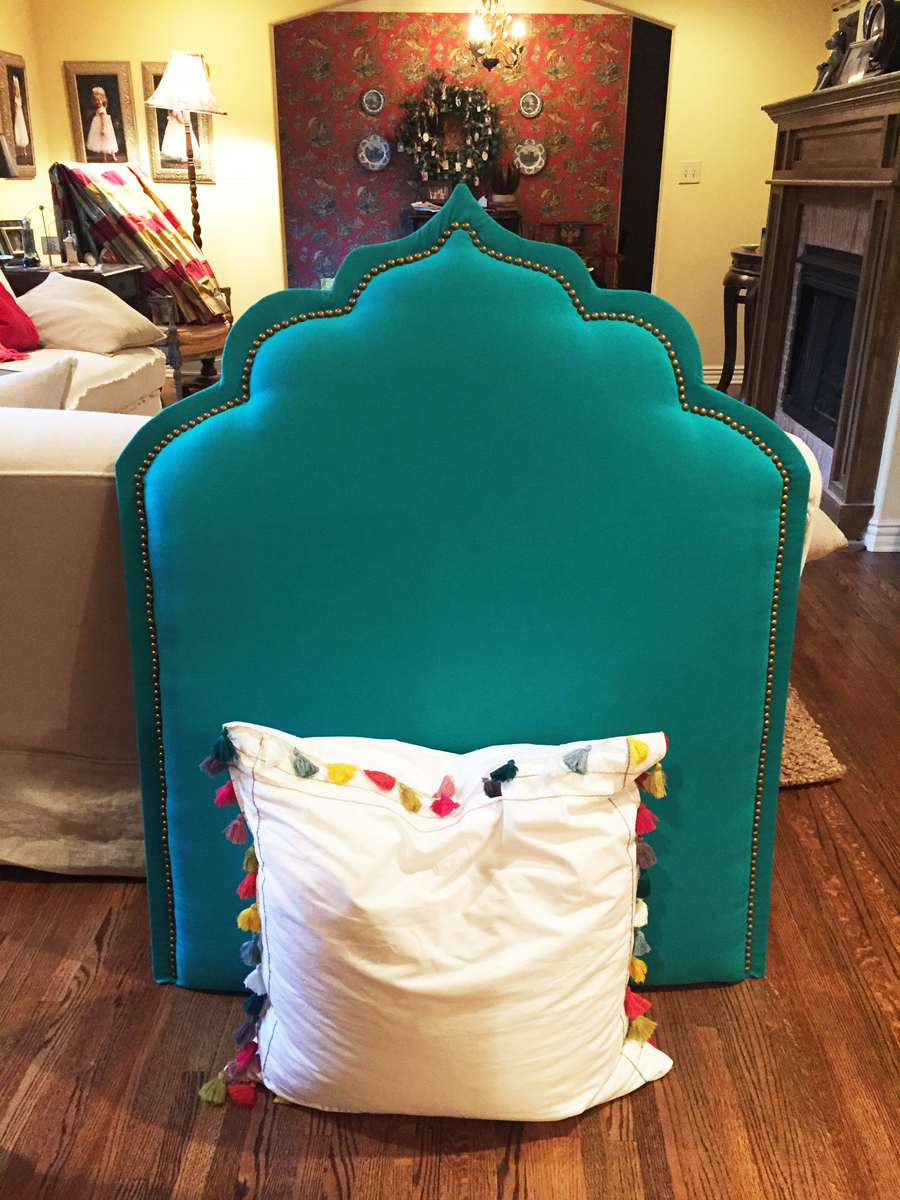 To attach the headboard to the rails, he screwed in eyelets and used zip ties on the back, they don’t budge! After 10 hours of decorating and organizing, we CANNOT be more thrilled with the way they turned out!! Her room looks even better than we imagined! I asked her how she slept after her first night and she said “amazing…” Feel free to pin these pics on Pinterest, hopefully this will inspire others to try making their own dorm headboard. Good LUCK!